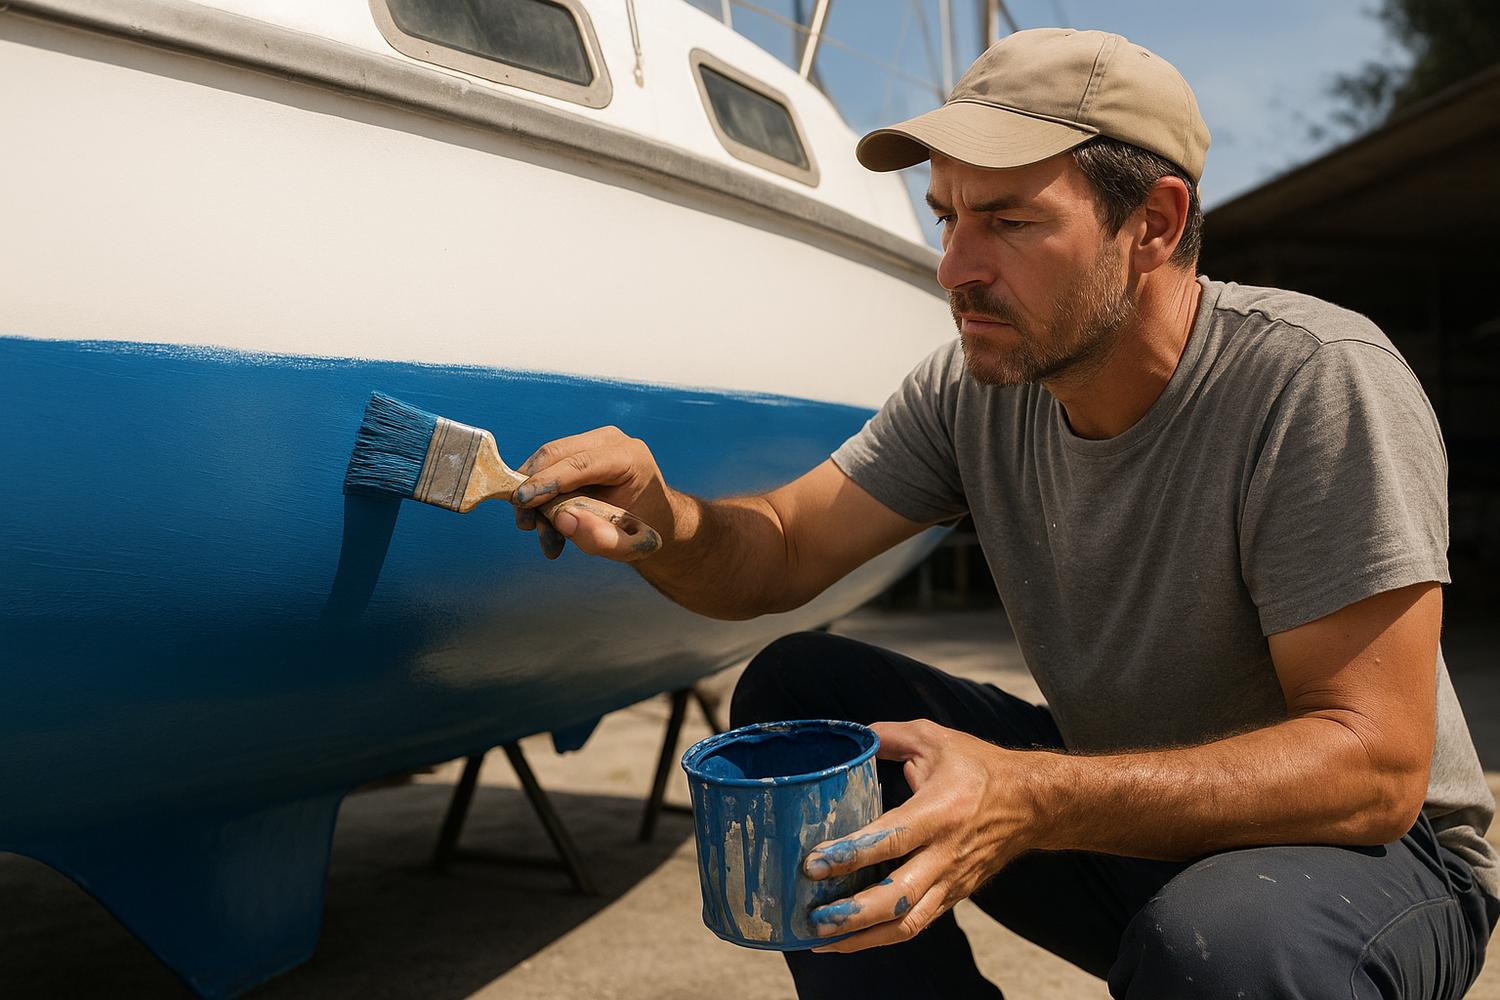
A well-painted boat hull does more than just turn heads at the marina—it protects your vessel from the harshest elements of marine life. If you own a fiberglass boat, sooner or later you’ll face the decision to repaint the hull. Years of UV exposure, saltwater abrasion, and dockside bumps leave even the most durable finishes looking tired. While many boaters turn to professionals for this job, painting a fiberglass boat hull yourself is not only possible—it’s a deeply satisfying project that can save you thousands of dollars and leave you with a stronger connection to your boat.
The process does take time, preparation, and patience. But with the right guidance and tools, even a first-time DIYer can achieve a finish that rivals a boatyard spray job. In this guide, we’ll walk you through every step of the journey—from selecting the right paint to the final buff that brings your hull to life. This isn’t just a list of steps. It’s a detailed, experience-based walkthrough designed to help you understand why each phase matters and how to do it right.
Whether you’re restoring an aging cruiser, upgrading the look of your daysailer, or preparing for offshore adventures, repainting your fiberglass hull can dramatically improve performance, durability, and aesthetics.
1. Why Paint a Fiberglass Hull?
Painting a fiberglass hull is about more than cosmetic enhancement. It’s an act of preservation. Fiberglass, especially when exposed over years without maintenance, is vulnerable to UV degradation, chalking, osmosis, and micro-cracking. A good marine paint system acts like a sunblock and waterproofing membrane in one, sealing the hull from external elements and internal moisture buildup.
In addition to protection, paint gives you control over the appearance and identity of your boat. A well-executed hull repaint can modernize an older vessel, cover imperfections, and even increase resale value. If you sail competitively, the right antifouling or slick finish can also improve hydrodynamic efficiency, shaving seconds off your time or fuel from your motor run.
2. Choosing the Right Paint for Fiberglass Boats
Not all paints are made equal—and choosing the wrong type could ruin hours of prep work. Fiberglass hulls are best painted with one-part polyurethane, two-part polyurethane, or epoxy-based paints. One-part paints are easier to apply and more forgiving in terms of environmental conditions. They’re ideal for beginners or casual sailors doing seasonal touch-ups.
Two-part polyurethane paints, though more complex to use, offer superior gloss, UV resistance, and durability. They’re often the go-to choice for boatyards and experienced DIYers. Epoxy paints, on the other hand, are primarily used as primers or barrier coats but can also serve as base layers when maximum water resistance is needed.
The key is compatibility—always ensure that the products you select (primer, paint, thinner) are designed to work together, and never mix brands without reading technical datasheets. Skimping on this step could lead to peeling, blistering, or uneven curing.
----- 👀 A quick peek below deck…
While you’re reading about boat maintenance and common issues on board, why not take a moment to sneak a peek inside the Easysea community? It’s a free space built for sailors like you—where we talk about real problems, swap smart solutions, and share stories from life at sea. Inside, you’ll find:
⚓ Problems & Solutions – get answers from people who’ve been there.
🧰 Logbook and boat maintenance – see what others are doing to keep their boats in shape.
🌊 Easy Chat – hang out, ask questions, and stay in the loop. 👉 Curious? Hop on board and join us.
It’s free.
3. Preparing the Hull Surface
Surface prep is where most DIY paint jobs succeed—or fail. The hull must be spotless, smooth, and chemically ready to accept paint. This begins with a full haul-out, followed by a high-pressure wash to remove barnacles, salt residue, and organic matter. Next, use a marine-grade dewaxer or solvent (such as acetone or MEK) to remove waxes, oils, or other contaminants embedded in the gelcoat.
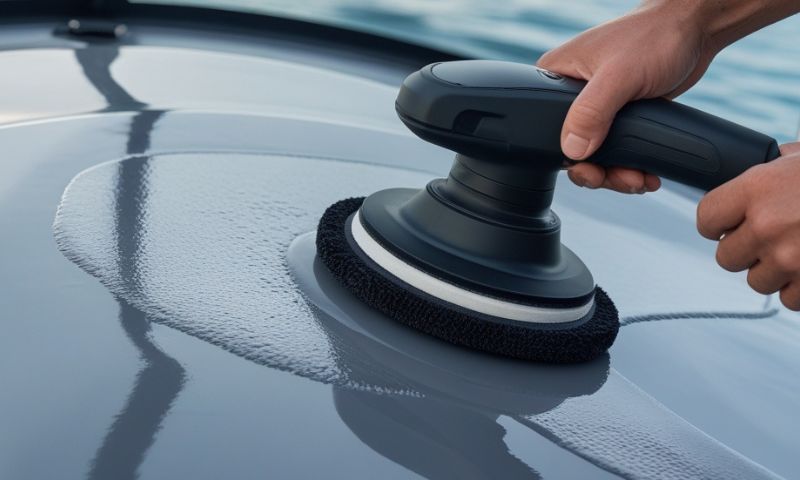
Once the surface is clean and dry, sanding begins. Use 80 to 120 grit paper with an orbital sander or by hand, depending on the hull’s contours. Your goal is not to remove material but to create microscopic grooves that allow the primer to “bite” into the surface. After sanding, vacuum the dust thoroughly and wipe everything down with a clean microfiber cloth soaked in acetone.
If the hull has dings or gouges, now is the time to fair them using epoxy filler or marine putty. Let it cure fully, then sand flush before proceeding. Time spent here is time saved later—every imperfection left unaddressed will be magnified once the topcoat goes on.
4. Masking and Protecting Surrounding Areas
Before opening your first can of paint, it’s critical to protect every surface you don’t want touched. Use high-quality painter’s tape—preferably blue or green marine tape that resists sun exposure and peeling—to mask off the waterline, rub rails, thru-hulls, and any hardware you choose not to remove. Plastic drop cloths or masking paper should be taped to the deck, trailer bunks, or supports.
If you’re painting outdoors, choose a calm day with low humidity and minimal wind. A gust can blow dust, pollen, or even grass clippings directly into your wet paint. You don’t want to spend weeks prepping your hull only to embed particles into your perfect topcoat.
Some DIYers create tented enclosures around the hull using PVC tubing and tarps—especially useful if you expect variable weather or want to control ambient temperature and light.
5. Applying Primer to the Fiberglass Hull
Primer is not optional—it ensures adhesion and seals microscopic pores in the fiberglass. Use a marine-grade epoxy primer compatible with your chosen topcoat. Mix it thoroughly according to manufacturer instructions, and apply using a foam roller for broad coverage and a brush for tight spaces.
Work in manageable sections to maintain a wet edge. Once the primer cures, you’ll notice a slightly rough, matte finish. This should be lightly sanded with fine-grit (220–320) paper to remove bumps and provide an even substrate. Be sure to wipe down with a tack cloth before moving to the next phase. If necessary, apply a second coat for extra thickness or coverage.
A quality primer layer builds the foundation for a durable, smooth final finish. It also helps you spot and correct any flaws that were missed during the initial surface prep.
6. Painting the Hull: Techniques and Tools
The moment of truth. Your hull is primed, sanded, taped off—and now it’s time to paint. For most boaters working at home, a “roll and tip” method gives professional results. This involves rolling on the paint with a high-density foam roller, then immediately dragging a high-quality brush lightly over the wet paint to eliminate bubbles and lap marks.
Apply thin, even coats—thicker layers may sag or develop an orange peel texture. Follow manufacturer instructions for drying and recoat times, which vary between one-part and two-part systems. In general, expect to apply two to three coats for complete, long-lasting coverage.
Avoid painting in direct sun or under 10°C (50°F). Surface temperature and humidity impact the chemical curing process, and poor conditions can ruin your finish. Use a moisture meter if you’re unsure whether the hull is dry enough post-dewaxing or sanding.
7. Curing Time and Final Touches
Once the final coat is applied, your job is not quite done. Curing takes time—up to seven days in some cases. Resist the temptation to reinstall hardware, tape, or launch the boat prematurely. Give the paint time to harden, shrink, and adhere fully.
When cured, gently remove the masking tape at a sharp angle to avoid pulling paint from the edges. Check for missed spots or areas requiring minor touch-ups. A final polish along the waterline or transom can elevate the appearance, giving your boat that “showroom” look.
If you’ve used antifouling paint below the waterline, remember that it too has specific immersion windows—check the label to know how soon your boat must be launched for maximum effectiveness.
8. Maintenance Tips for Painted Fiberglass Hulls
A new coat of paint is an investment—protect it accordingly. Wash your hull regularly with fresh water and marine-safe soaps to remove salt and grime. Avoid abrasive scrubbers or acidic cleaners, which can dull the finish or damage the protective layer.
Waxing your hull once or twice a season adds UV protection and keeps the surface sleek and hydrodynamic. If you notice dulling or surface scratches, a light compound polish can restore the gloss. Store your boat under cover when possible, or use a hull wrap or tarp to protect it from prolonged sun exposure.
9. Common Mistakes to Avoid When Painting a Boat Hull
Painting a fiberglass hull requires attention to detail—and the most common errors come from rushing. Inadequate surface prep, painting over wax or contaminants, skipping primer, or failing to observe drying times all lead to poor results. Using incompatible products can also cause chemical reactions that result in soft paint or delamination.
Another frequent misstep is applying paint in poor conditions: too hot, too cold, or too humid. Painting late in the day can cause dew to form before the paint has cured, leading to blemishes or chalking. Always follow the technical specifications and don’t be afraid to take extra time between steps.
10. Final Thoughts: Is Painting a Fiberglass Boat Worth It?
There’s no question—repainting your fiberglass hull is a big job. It demands effort, precision, and days of commitment. But the reward is tangible. You’ll emerge with a boat that not only looks renewed but is better protected against the rigors of the sea. The satisfaction of admiring your own craftsmanship, knowing every step was done right, is incomparable. Painting your own boat is more than a maintenance task—it’s a rite of passage for every sailor who takes pride in every detail, above and below the waterline.


Commenta
Questo sito è protetto da hCaptcha e applica le Norme sulla privacy e i Termini di servizio di hCaptcha.